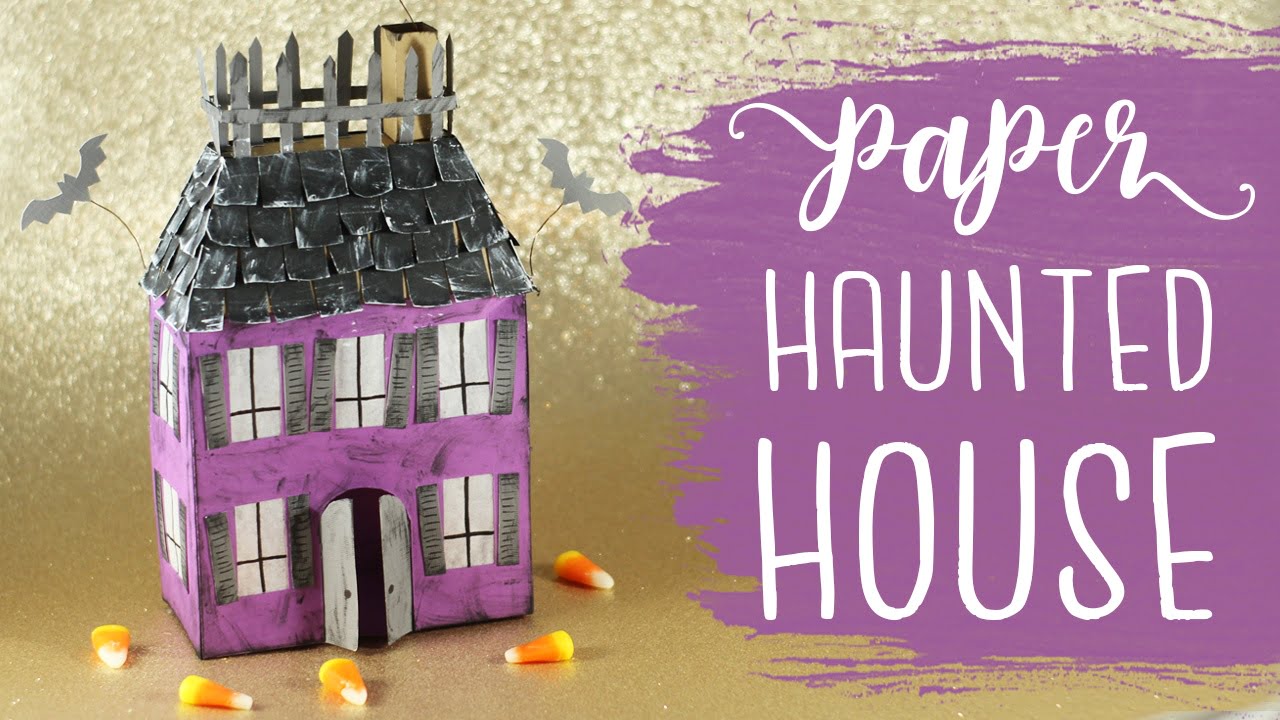
Hi everyone! This week, I’m bringing you one last Halloween tutorial before the holiday is here! In this video tutorial, we’re creating a spooky, fun haunted house out of paper! Put an LED tea light or two in it, and it makes a great decoration for both Halloween day and night!
Click the image below to watch the video tutorial:
This is a very fun project to make! Feel free to customize it with your own decorations. I think kids would have a great time decorating this also (although an adult should probably do the assembly first).
Materials:
- Card stock – you’ll definitely want to use heavier, stronger paper for this project
- Vellum or tracing paper (if you want to add “glass” to the windows)
- Glue – I used hot glue for the assembly of the house and Tombow Mono Liquid Glue to attach the vellum
- X-Acto knife or other craft knife
- Scoring tool (or an old pen that no longer writes)
- Ruler
- Thin wire to attach to the bats – I used 24 gauge
- Scissors
- Acrylic paint (if you want to add distressing to the house) – depending on the colors of the house, you’ll need white or black (or both, in my case)
Click here to view & print the patterns:
halloween house roof & chimney
halloween house door, shutters, bats
Thanks for taking a look! Let me know your thoughts, and if you make one I’d love to see it – instagram @essyjae
Have a happy and safe Halloween!



2 Comments
Hi
Hi!