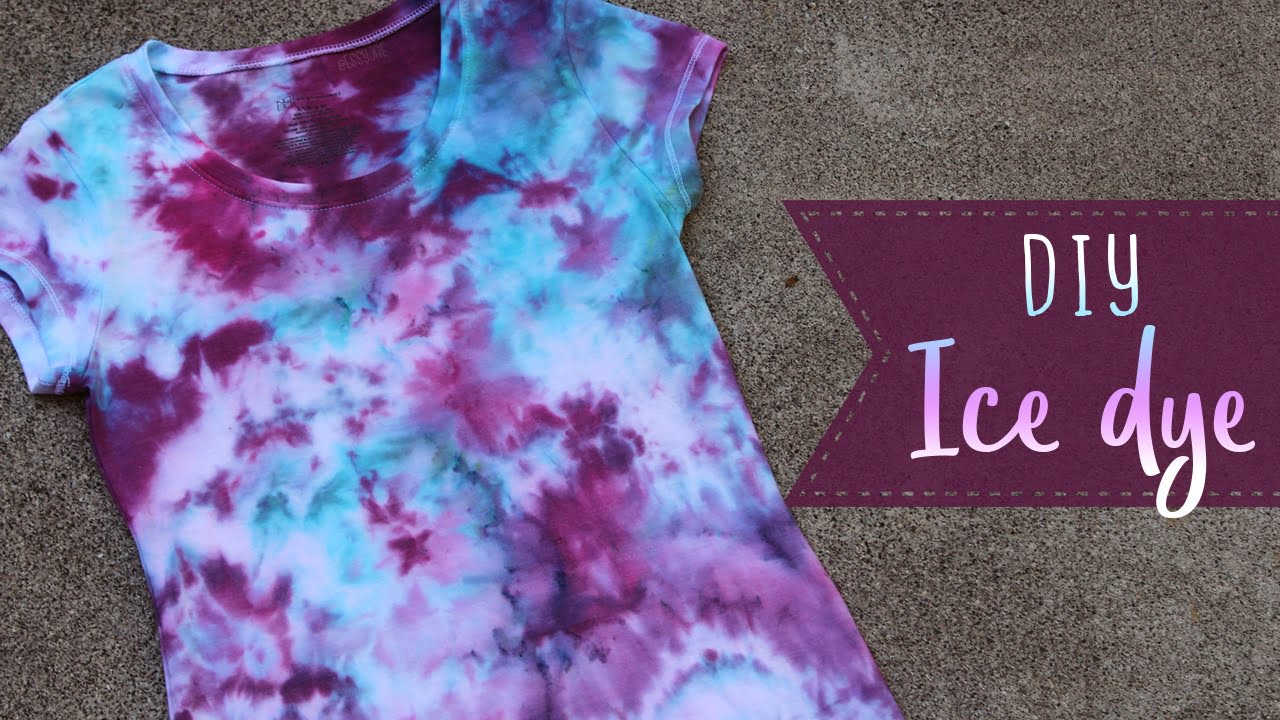
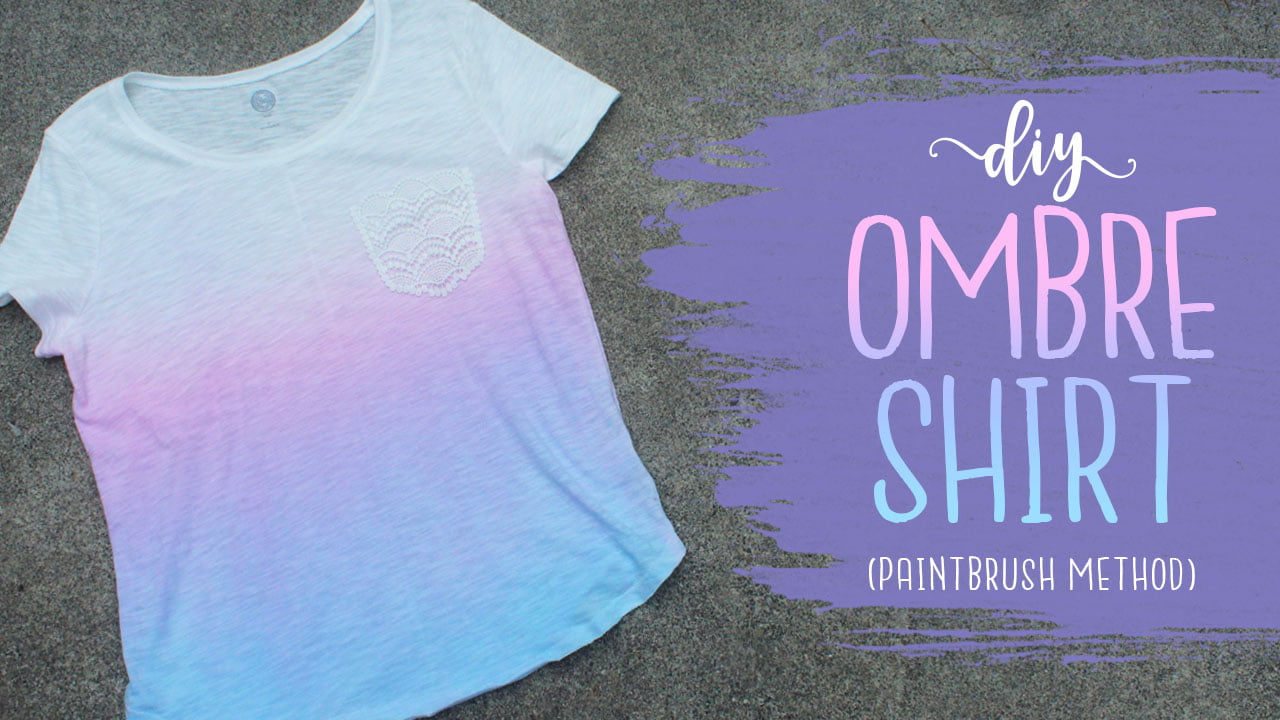
Hi everyone! In this week’s tutorial, you’ll learn how to ice dye!
Ice dye is one of the easiest tie dye techniques I’ve ever done – the ice does most of the work for you! I can’t think of too many projects better than this for a sunny, summer day 🙂 It doesn’t take long to do and the results are beautiful!
Click here or click the image below to watch the tutorial:
I’ve had a few questions about what the back of the shirt looks like and the answer is the front and back of the shirt come out looking almost identical – there is no need to dye both sides.
Time needed: ~20 minutes
Difficulty: Easy
Materials List:
- Powder fabric dye (it’s often best to use colors that are next to each other, or analogous on the color wheel, so things won’t get muddy) I used Tulip brand dye.
- Container large enough to fit the items you’re dyeing
- Screen or cookie cooling rack
- Rubber gloves
- Mask
- Ice cubes
- Shirts or other items to dye (the higher the cotton percentage, the better – polyester won’t take the dye) I used this tee
*Any items such as the container you use, or cookie cooling racks, should not be used for food again after doing this. I recommend buying some inexpensive ones from the dollar store or Walmart just for dyeing with.
Tips:
- Do this outside, or where it won’t matter if things get messy
- The more ice you use, the more effects you’ll get
- Be generous with the amount of dye you use
- Use analogous colors together such as red, orange, and yellow or pink, purple, and blue
- Wear a mask to prevent breathing any dye
- I let my dyed items sit overnight with the dye still on them, just to make sure the dye would take full effect. If you have time, I recommend doing this – but this way, the powder will dry and be harder to wash off.
- Before wearing, wash items in the washer without other items they could stain
Good luck, and if you have questions, feel free to comment below!


