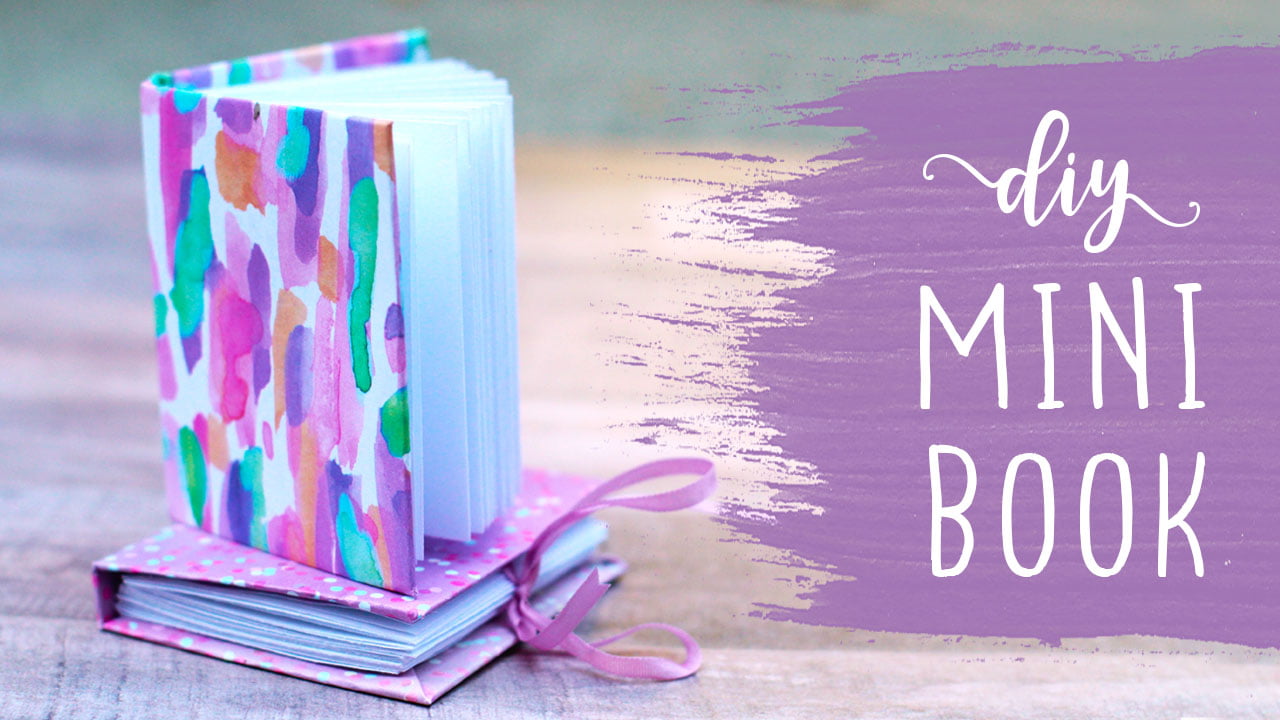
Hi everyone, hope your week has been great so far! In my new video tutorial, we’re creating these adorable tiny hardback books! I’ve been wanting to create some mini books, so I came up with this technique that I think works pretty well.
This isn’t a super fast project (I plan to make a quick mini book tutorial in the future) but this does make one cute little book! There are so many ways these tiny books could be used – they’d be fun birthday gifts, teacher gifts, mini scrapbooks / mini photo albums and more! Mini book making is so fun 🙂
Click the image below to watch the step-by-step tutorial:
The best part is that these use materials that just about everyone should have at home, and they are a good way to recycle cardboard!
Materials List:
- White printer paper (or you could try using higher quality paper, but it will likely make the book a little thicker) you’ll need two 8″ x 10″ sheets
- Decorative paper for the cover – don’t use card stock, you’ll need paper that is thin (such as thin scrapbook paper)
- Thin cardboard – I used cardboard packaging from a picture frame, but a cereal box should work also
- Needle and white thread – you’ll want to use thread that has some strength to it and a needle that has a fairly small diameter
- Strong tape that has a wide width- I used packing tape, but other types of tape should work as long as it is wide enough.
- Hot glue or other type of strong adhesive that holds quickly
- Knife or scissors that will cut the cardboard
- Ribbon if you want to the book to stay closed, you’ll want a very thin width ribbon
- Ruler
- Pencil
If you have any questions, just let me know – and I’d love to hear what you think 🙂 Have you made mini books before?