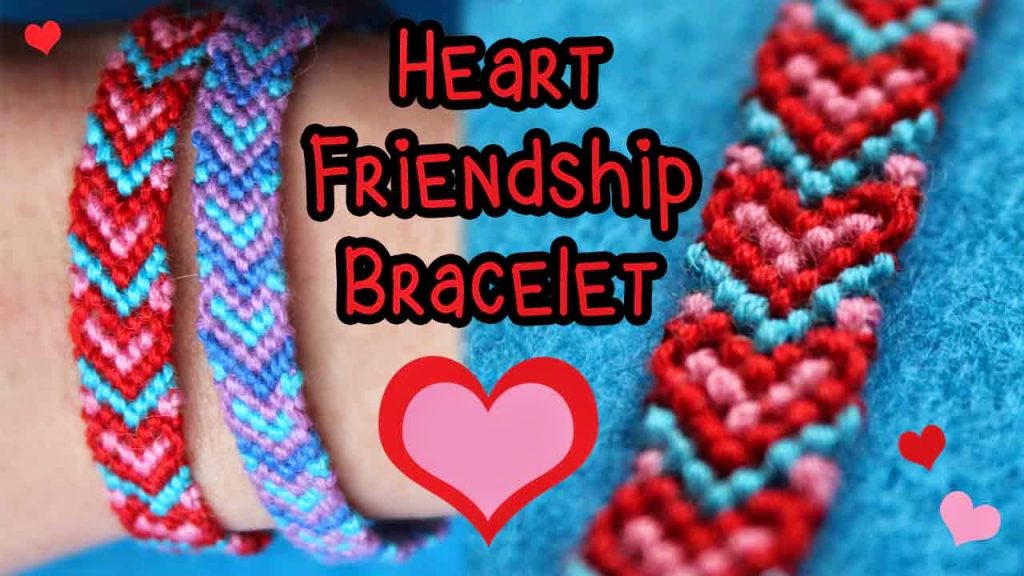
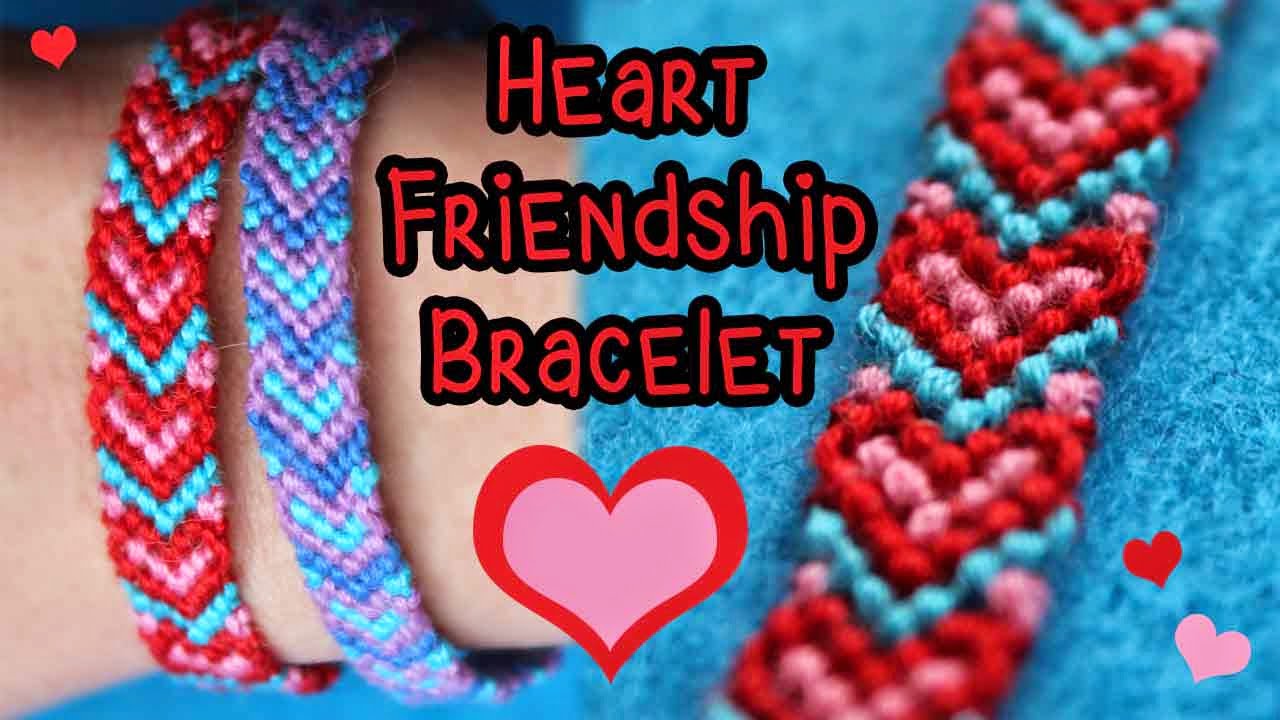
In this video tutorial, you’ll learn to make a friendship bracelet with a heart design. This bracelet uses 3 colors – one for the outline of the heart, one for the inside of the heart, and one for the stripe between hearts.
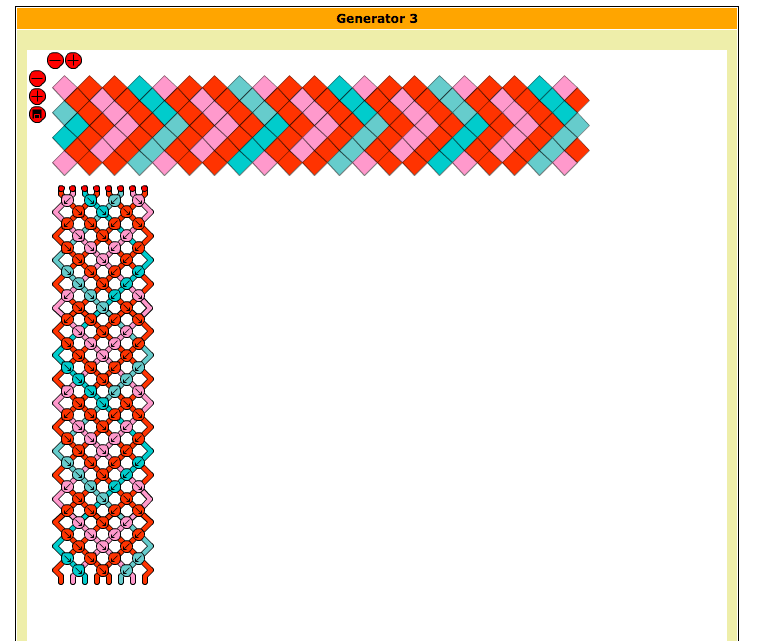
The image below is the pattern for the bracelet I made in the video. If you are pretty familiar with making friendship bracelets, you’ve probably used one of these patterns before, but if not, they are really easy to learn how to use and super helpful.
This pattern was created on http://friendship-bracelets.net/ You can create your own pattern on the generator here, and they also have some more info about using these patterns on the site. Go check them out!
Some tips to remember while making this bracelet:
- Try to keep the tension, or tightness of the knots, consistent. If you tie the knots very tightly, it will result like the purple, blue, and periwinkle bracelet in the top image. This way, it will be less wide and will take longer to make. If the tension is kept on the loose side, it will be more like the one in the video. It will be wider and quicker to make. If you make a mistake, the knots will also be easier to pick out. Either way is fine – just try to stay consistent throughout the bracelet.
- If you are using the pattern, you may want to keep a running tally to keep track of the row you are on so you don’t get lost.
- For both directions of knots in this bracelet, the strings are supposed to switch places after the knot is tied, so they are in the right place for the next row.
- If you are tying two strings of the same color together, it does not matter which direction of knot you tie.
This post originally appeared on my old blog, Pugdemonium.


2 Comments
how long should the strings be?
[…] 18. Step By Step Instructions for Friendship Bracelet in Heart Design […]