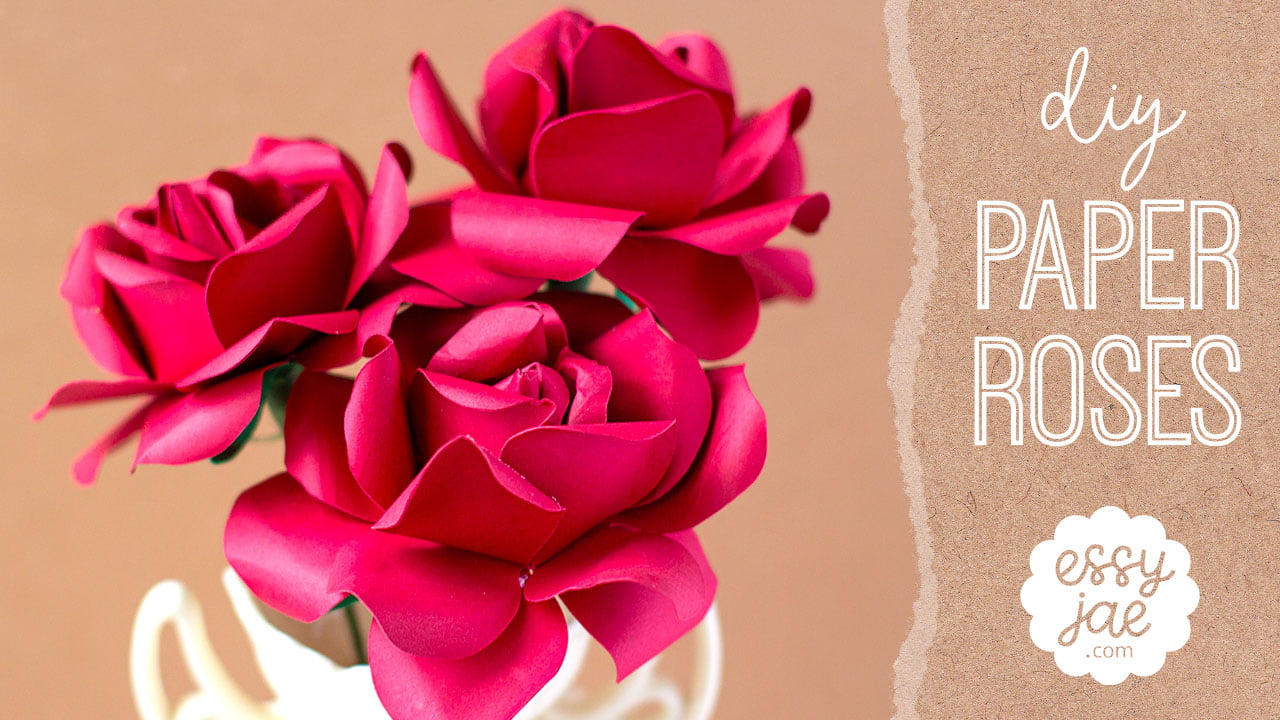
Hi there! January is coming to a close, which means Valentine’s Day is right around the corner. In light of that, I thought I’d bring you a papercraft tutorial of a Valentine’s Day classic – the red rose! In this step-by-step tutorial, we’re going to make a beautiful, realistic rose out of card stock.
I designed this pattern back in April of 2019 to make my grandma, who wasn’t well at the time, a bouquet of pink roses for Easter. I’d been seeing lots of beautiful card stock roses and wanted to design my own take on them. I loved how realistic they turned out and I’ve been waiting for the right time to share the patterns with you – and today’s the day!
My crepe paper rose tutorial has been one of my most popular lately, and this is another beginner friendly way to make a rose 🙂
Materials:
- Thin card stock paper (around 175 gsm is best) in colors red and green. I like to use the Recollections brand from Michaels.
- Plastic butter knife or paper curling tool
- 16 gauge floral wire
- Pliers
- green floral tape
- Hot glue gun (I used a high temp, but I recommend a low temp for protecting your fingers)
- Scissors
- Optional: 1/4 thick craft foam from Michaels to use as a work surface
Patterns:
Cardstock Rose PDF File Cardstock Rose SVG FileWhat do you think? I’d love to hear your thoughts in the comments below!


3 Comments
Sarah, this looks like such a fun project!
Thank you so much, Lisa!! Thanks for taking the time to comment! 🙂
Hello, I can’t download the files. Thank you!