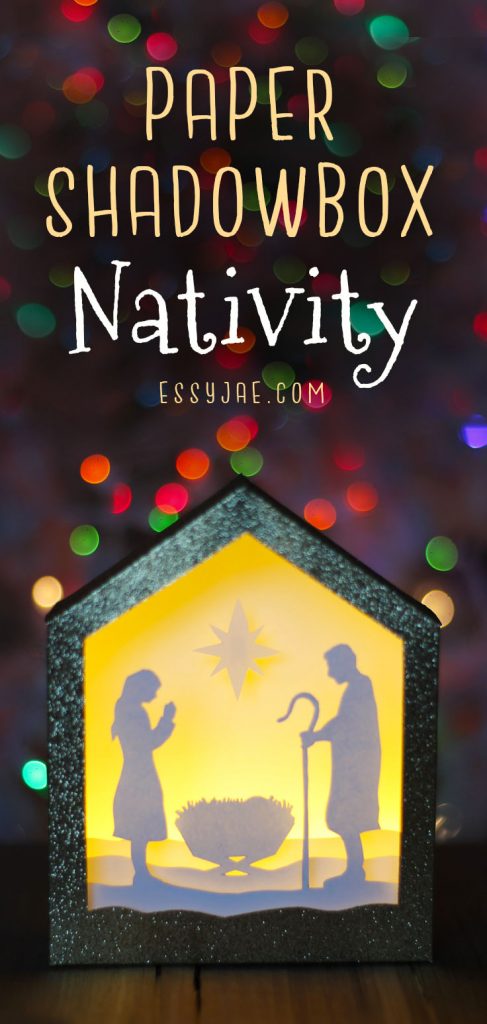
Hi everyone! In this week’s tutorial, we are creating a paper nativity shadowbox scene! The results of this project are beautiful!
[elementor-template id=”5167″]
Materials:
- Card stock – the paper you use needs to have some thickness to it. I suggest white card stock for the inside and glitter or colored card stock for the stable.
- X-acto knife (if you’re cutting by hand)
- Fairy lights or other small lights
- Scissors
- Pencil
- 1/4 inch thick foam core board or extra thick craft foam/fun foam to put between layers
Click here to view & print the hand-cut patterns:
Free SVG files* (right click on them, and click Save Image As. The fold lines are intended to be set to score with your machine. This file is optimized for Cricut machines):
Let me know if you have questions, and merry Christmas!
If you liked this SVG file, please consider checking out all of my designs here in my Etsy shop 🙂

*Please note: the SVG files are for your personal use only and not to be transferred, sold, or given away in any way. Thank you!


3 Comments
Hi. I so want to do this with our kids at Sunday School, but I am having trouble with the svg file, the one with box. I don’t quire understand how to go about it with my Cricut Maker. I tried with the fine point needle at cut through the whole thing. I tried with the scoring tool, and it doesn’t look right. Could you make a video using Cricut for this? I could cut manually, but we have a lot of kids, so the Cricut would help. Thanks.
Hi there! I’m sorry to hear you’re having trouble with the SVG file. The top layer (lines) should be set to score, while the bottom layer should be left to cut, and both layers should be attached together. Please send a message to [email protected] where we can continue the conversation in a way that will be easier to respond. Thank you!
Hi Aljin,
I’m sorry to hear you’re having trouble with this design with your Maker. The top layer should be set to score, and the lower layer set to cut. Please send me a photo of the problem to [email protected] and we can work together to get it working right for you. Thank you!