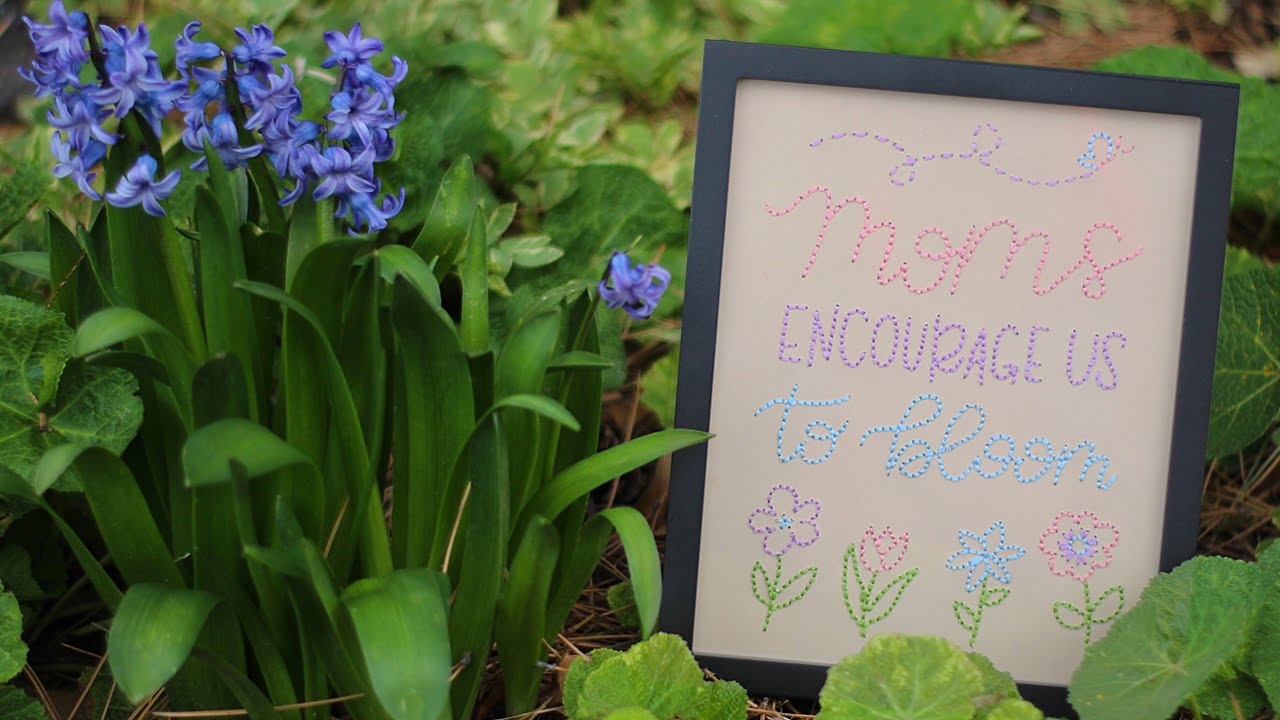
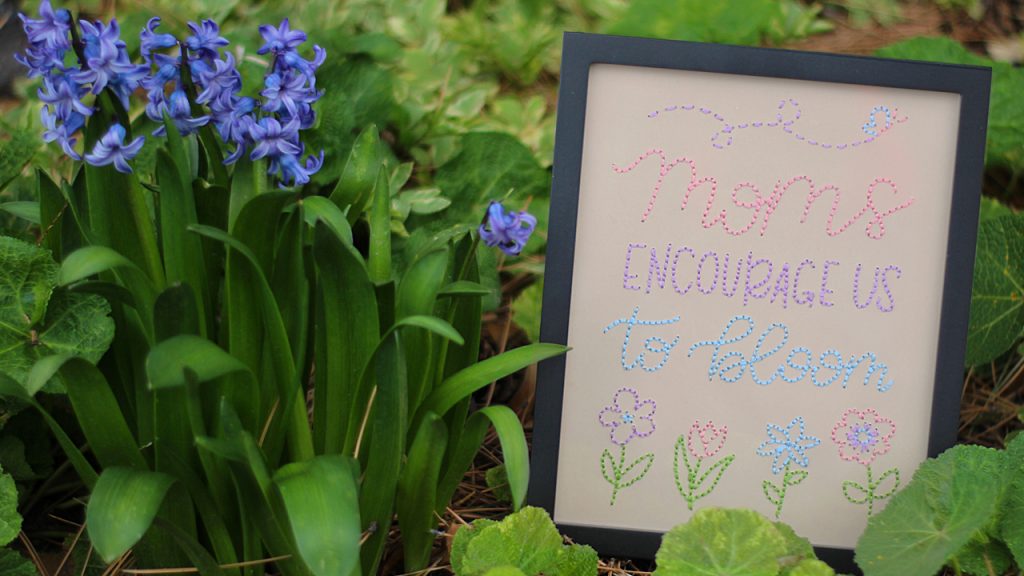
Hi everyone! Mother’s Day is right around the corner, and in my latest video tutorial, we’re doing some paper embroidery to create a diy gift for your mom (or grandma)! Embroidery has been super popular lately and I’ve been loving it. This project is a great way for beginners to give it a try, and because it’s on paper, it puts a fun twist on the embroidery that you usually see!
Handmade gifts are great, and your mom will especially appreciate the time and effort it took you to make something just for her! This project isn’t difficult, but you’ll definitely want to set aside some time for it, as it isn’t a super quick project.
We’ll be using only two different stitches for this project – the super simple Straight Stitch/Running Stitch (this great video shows how to do it if you’re having trouble) and the Backstitch (shown here in this great video).
Materials:
- Picture frame to fit an 8″ x 10″ image (mine was from Walmart)
- Card stock (you definitely need to use thicker, heavier weight paper for this project or else it will tear. Choose a color that contrasts well with your embroidery floss)
- Embroidery floss in your choice of colors (I used 4 colors – pink, purple, blue, green)
- Carpet needle or other needle with an eye large enough for the embroidery floss
- Piece of foam or other object that you can push a needle into
- Pencil
- Scissors
- Paper trimmer or ruler to trim down paper to 8″ x 10″ size
Click here to view & print the art template:
(It is been reversed so you will be able to print it on the back side of the paper and still have it look right on the front)
The biggest tip I can give you is to put plenty of space between the holes as you are punching them. Too close together, and you’ll find they tear easily as you pull the floss through. Also, some tearing will likely happen anyway, and that’s ok – just skip it and move on to the next hole.
Let me know if you have any questions 🙂
