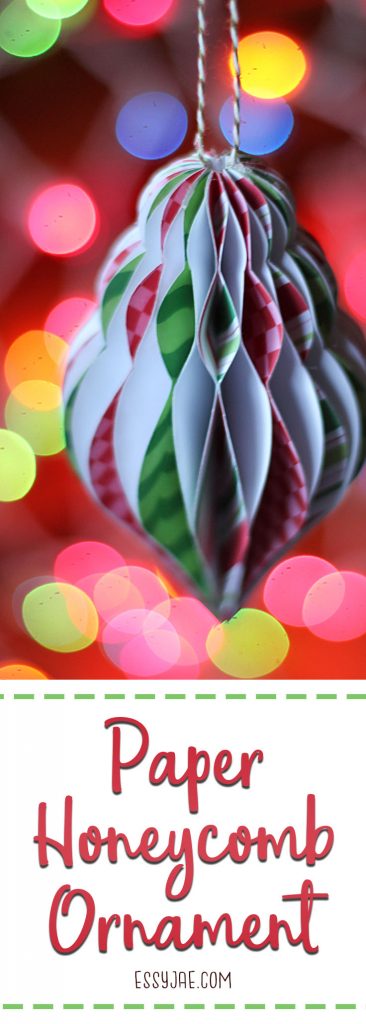
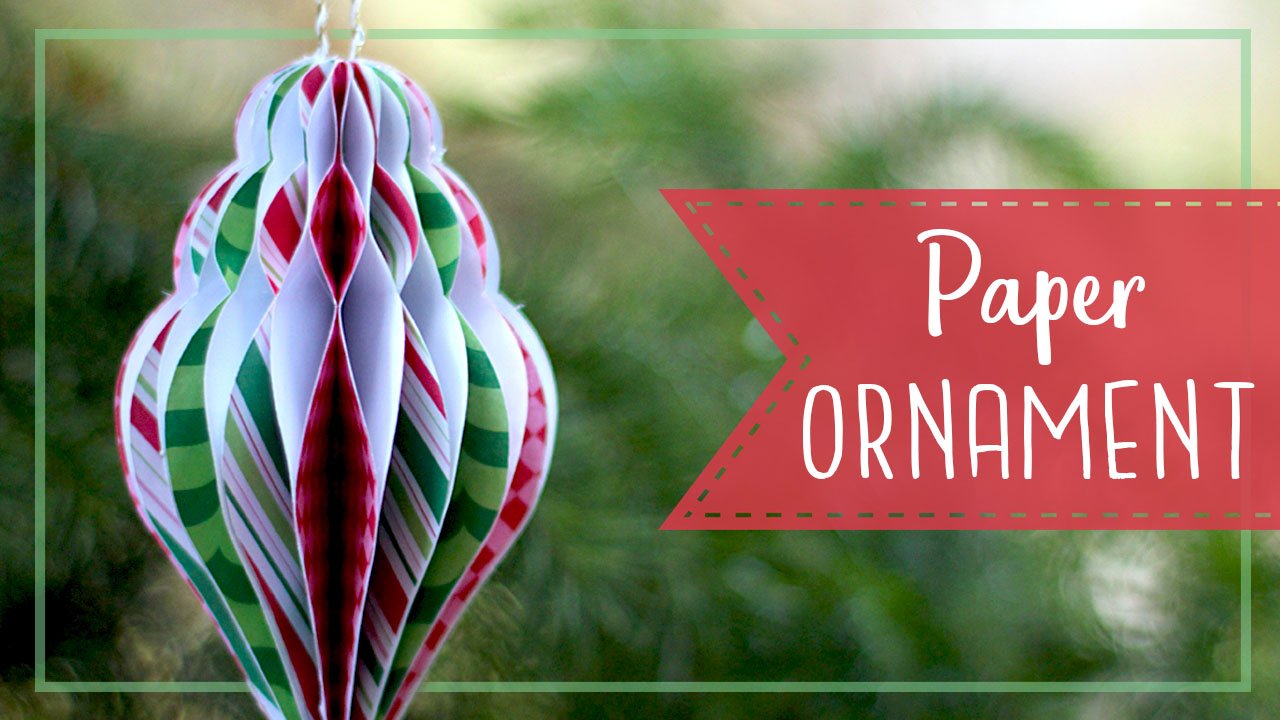
Hi everyone! In this week’s video tutorial, we’re creating a honeycomb Christmas ornament out of paper!
[elementor-template id=”5167″]
It looks quite complex, but it is actually very easy! The most time consuming part is just cutting the pieces, and if you have a cutting machine such as a Cricut, you’ll have it made in no time at all!
Difficulty: Easy
Materials:
- Paper – try to get the thinnest paper you can. This works great with doubled sided paper, as both sides will show – but unfortunately it is hard to find thin paper of this kind. I just used single sided thin scrapbook paper, which works just fine!
- Glue – I used my go-to hot glue, and it worked great. Feel free to try other adhesives, but it needs hold strong.
- Scissors
- String or ribbon for the hanger
- Pencil
Honeycomb Ornament Pattern (For cutting by hand) You’ll need to cut 18 of these, which took about 3 sheets of 12×12 paper for me.
Here is the .PNG for use with cutting machines (right click on it to save it). You’ll need to ensure this image is sized to 5.2″ tall, as it may upload as a different size.
Merry Christmas!
Feel free to comment below if you have questions 🙂


5 Comments
No where in the instructions do you say the ornament dimensions. After uploading the png the size blows up to 11.5 in tall. How tall should they be?
Hi Melissa, the png should be cut at 5.2 inches tall. So sorry I overlooked mentioning that! Thank you for bringing it to my attention – I’ve added the info to the post.
Second time, I uploaded a new download, it came out 6 3/4″ tall. Still really big. Some dimensions on instructions would be very helpful
Ummm. Silly question. How do we put these together?
Hi Trudy,
Were you able to find the video tutorial embedded in the post? It shows the complete process of putting these ornaments together. You can find it below the words “click the image below to watch the video tutorial” or here: https://youtu.be/PZbUGxqlr-M
Let me know if you still have questions 🙂